
The other day, while immersed in a CTF with a good friend, we encountered an intriguing challenge. After having a foothold on the machine, we stumbled upon a suspicious executable that could be run as root. The catch? We had absolutely no idea what this executable did! Curious about how we tackled this mystery? Read on to discover essential tools that can help unravel the secrets of compiled binaries.
Forging the Mysterious Binary
To provide a hands-on experience, I’ve compiled a simple C++ program. This program checks if the environment variable admin is set to TRUE and, if so, executes Bash (with root privileges if called via sudo). This will serve as an interactive example, allowing readers to follow along and experiment with the code themselves.
#include <cstdlib>
#include <iostream>

int main() {
    // Check if the 'admin' environment variable is set
    char* adminEnv = std::getenv("admin");

    if (adminEnv != nullptr && std::string(adminEnv) == "TRUE") {
        // If 'admin' is set to 'TRUE', execute Bash
        system("/bin/bash");
    } else {
        // Otherwise, inform the user
        std::cout << "Access denied. Insufficient privileges." << std::endl;
    }

    return 0;
}
You can compile this program using a C++ compiler like g++. For example:
g++ mystery_program.cpp -o mystery_programUnlocking Secrets with Strings
When confronted with a mysterious executable on Linux, the strings command becomes your trusty detective. This tool is designed to extract human-readable strings—sequences of characters—from binary files. Here’s how to use it:
strings mystery_programIf you were to run strings against our example program above you would find the following snippet within the output.
...
admin
TRUE
/bin/bash
Access denied. Insufficient privileges.
...
This gives us quite the hint at what our mysterious executable might be doing. Strings really shines when lazy developers embed passwords right into their binaries. For instance if someone were to make a binary that checked for input and compared it to pa$$w0rd, then you would be able to see pa$$w0rd plain as day in the strings output. In the end this was not enough for me and my buddy to deduce what the binary was doing. Here is where our strategies diverged.
Decoding Execution Paths with Ltrace
When he got to this point, my savvy friend turned to ltrace, a tool that uncovers the runtime library calls made by a program. This provided a roadmap of the program’s execution, shedding light on its inner workings. Let’s delve into how ltrace was employed in our scenario.
ltrace ./mystery_programgetenv("admin") = nil
_ZStlsISt11char_traitsIcEERSt13basic_ostreamIcT_ES5_PKc(0x55ec97ccd0c0, 0x55ec97ccb020, 0x55ec97ccb008, 0x55ec97cccdb0) = 0x55ec97ccd0c0
_ZNSolsEPFRSoS_E(0x55ec97ccd0c0, 0x7f3112d38670, 0x7f3112d38670, 1024Access denied. Insufficient privileges.
) = 0x55ec97ccd0c0
+++ exited (status 0) +++The output reveals each function call made by the program during its runtime. In our case, the crucial line getenv("admin") = nil indicated an attempt to fetch the value of the “admin” environment variable. We already know from our earlier snooping that TRUE follows immediately after admin in the strings lookup, so this is not hard to decipher at all.
The solution is to set the admin environment variable to TRUE prior to executing the file. Here’s how you do so:
export admin=TRUEWe can then run our program with sudo:
sudo ./mystery_program -EThe -E switch here prevents sudo from clearing out our environment variables as it would normally. In the case of our CTF I believe that the setuid bit was set on this file and therefore sudo wasn’t used.

Another tool to keep in mind is strace. While ltrace focuses on library calls, strace captures and details the system calls a program makes. It’s handy for diving into a program’s low-level interactions with the operating system. In our journey to unveil the mystery executable, ltrace took center stage, but strace is always there as a robust alternative for exploring system-level intricacies.
The Nuclear Option: Ghidra

When all else fails and the binary’s mysteries persist, it’s time to bring out the big guns: Ghidra. This powerful tool, developed by the National Security Agency (NSA), is a software reverse engineering framework that aids in analyzing and understanding compiled binaries.
My familiarity with Ghidra, thanks in part to past projects, led me to opt for this comprehensive tool. While ltrace and strace offer insights at the runtime level, Ghidra delves into the very source code of the binary, offering a more detailed and granular view. Let’s explore how Ghidra can be employed to decode the enigma within a compiled executable.
You can download Ghidra here. Once installed:
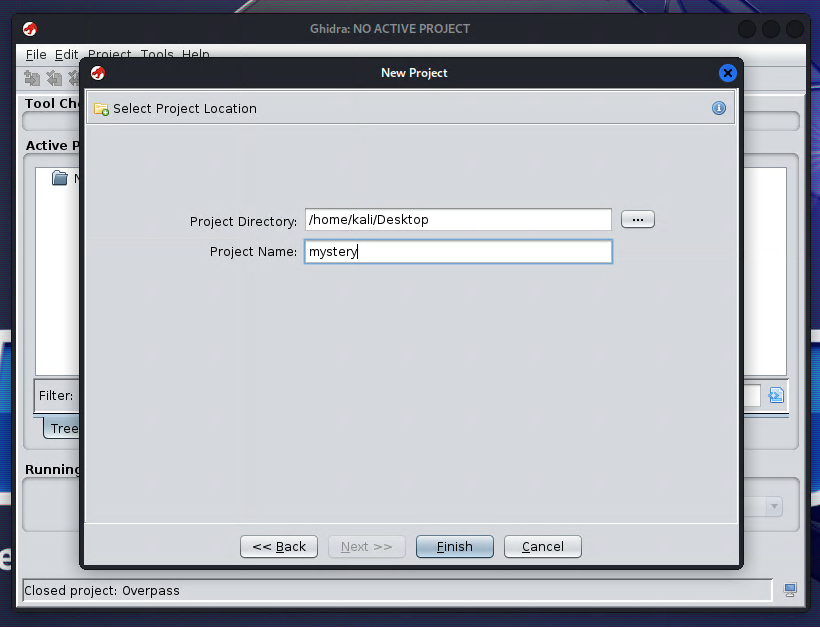
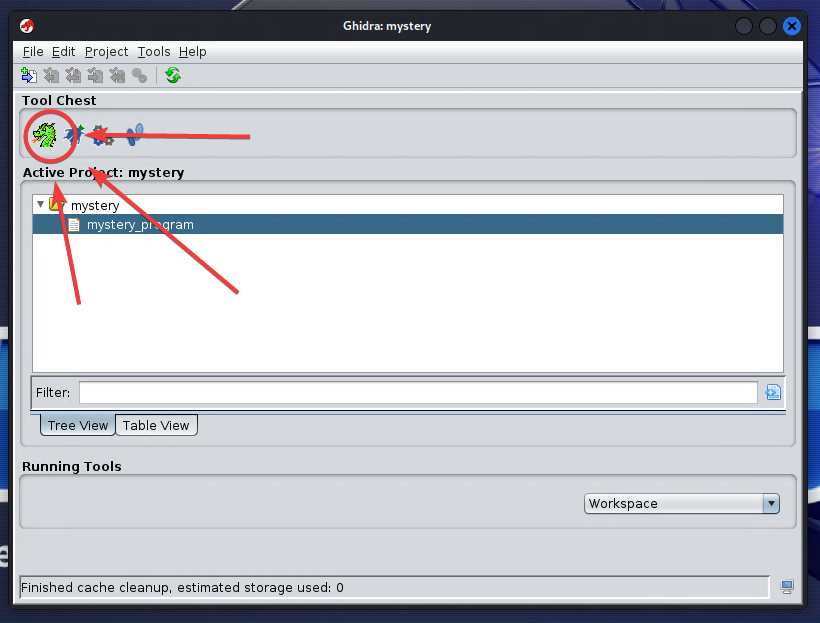
- File > New Project: Create a new project.
- Window > CodeBrowser (Hydra icon): Open the CodeBrowser.
- File > Import File: Choose your executable; language autofills.
- Yes, Analyze, Default Options: Accept prompts to analyze with default settings.
- Symbol Tree > Functions > Find Main: Locate the main function.
- Click on Main: Access the decompilation on the right.
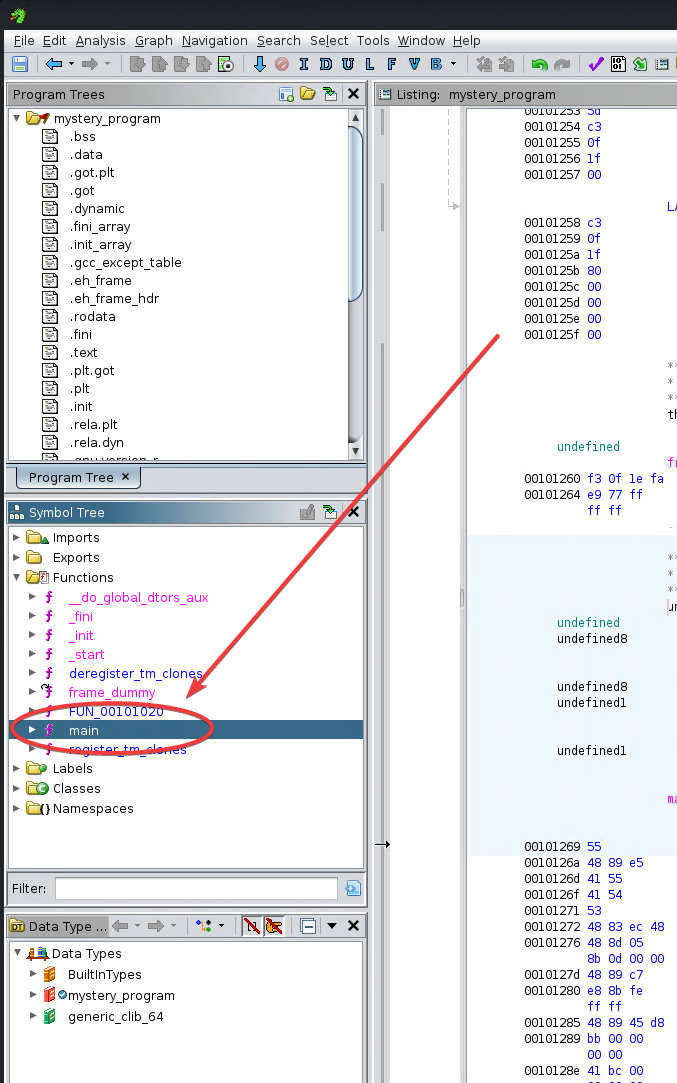

And there you have it, the decompilation of our program. It may be a little bit hard to read but given enough experience with the program you can clean up the decompilation yourself. Remember, this is just the tip of the iceberg in Ghidra’s capabilities.